Free Foundation Paper Piecing Pattern: Ray Quilt Block

Over the coming months, I am going to be providing tutorials and patterns on Foundation Paper Piecing (FPP). In my Instagram stories, lots of people let me know that this is a skill that they would like to learn and I'm hoping I can help with that!
Many people feel challenged and daunted when they think about learning how to foundation paper piece. However, I do believe everyone can overcome that. I think if you follow my tutorials and try a few times (no matter how good or bad the outcome is the first few times), that you will learn the concept of FPP, and you will make great progress with each block you make.
First, I just want to talk a little about what FPP is and some of the concepts behind it.
FPP is when you sew fabric to a printed foundation paper (printer paper in this case). It yields a very accurately pieced block. With this method, you are able to get very exact angles, shapes, and blocks. You can use FPP for very basic blocks such as flying geese, and it will give you very crisp and precise points. FPP is also used for very intricate blocks that have tiny angles and lots of pieces. Either way though you follow the same basic concepts. So, once you understand the concepts, you will be on your way to piecing complex FPP patterns.
****The most basic, important concept of FPP is that you use a printed paper to guide your stitches so that you can make very precise seams. When you are piecing the block, you are arranging the fabrics, right sides together, sewing the seam (along the appropriate line) and then pressing to open the just pieced portions. You repeat that for as many seams as are in the block. Then you join your blocks. And, finally, you remove the paper.*****
FPP patterns have letters and numbers on them. They tell you the order in which you piece the block. You start with the 'A' section and piece in numerical order. Then continue on alphabetically with your pattern if applicable.
On the pieces inside the FPP block, there is no seam allowance. When you are sewing, you are sewing the seams exactly as they are on the paper and you cut the seam allowance later (this will make more sense when you see the pictures below and my videos). There is usually a seam allowance shown around the outside of the block on the paper (again, you'll see this below).
When you are piecing an FPP block, you sew onto the printed lines of the block. You fabric, however, is on the wrong side of the paper. You are actually sewing a mirror image of what you see on the lined side of the paper.
When doing FPP, I decrease my length to about 1.5. When you decrease your stitch length, the needle perforates the paper as you sew, which makes removing the paper very easy.
I tend to not use pins when I do FPP. I think they warp the project and get in the way. In general, I just hold the fabric in place with my hands. Occasionally, I use a glue stick to hold the first piece down. Please experiment with what works best for you.
There are lots of different tricks people use based on their own trial and error and experience. This tutorial is based on how I do it. As always, please feel free to find other tutorials to help you understand, if for some reason, mine does not make sense to you.
I will do my best to answer all of the questions you have on this topic. I know it is confusing when you start out. However, the best advice I can give you is to actually to-
1. Read through this whole tutorial
2. Watch the tutorial on my YouTube channel.
3. Actually try to make a block (or a few) yourself. If you are able to make the block, fantastic! If you cannot make it yet, that is ok! Trying it out and making mistakes are great learning tools here. The more you try, the better you'll get.
4. Once you make the block, you'll see what you understand and where you still need clarification. So, feel free to ask your questions at this point too!
Ok, let's get started!!
Block size: 6.5" unfinished
MATERIALS NEEDED
Ray Quilt Block FPP pattern
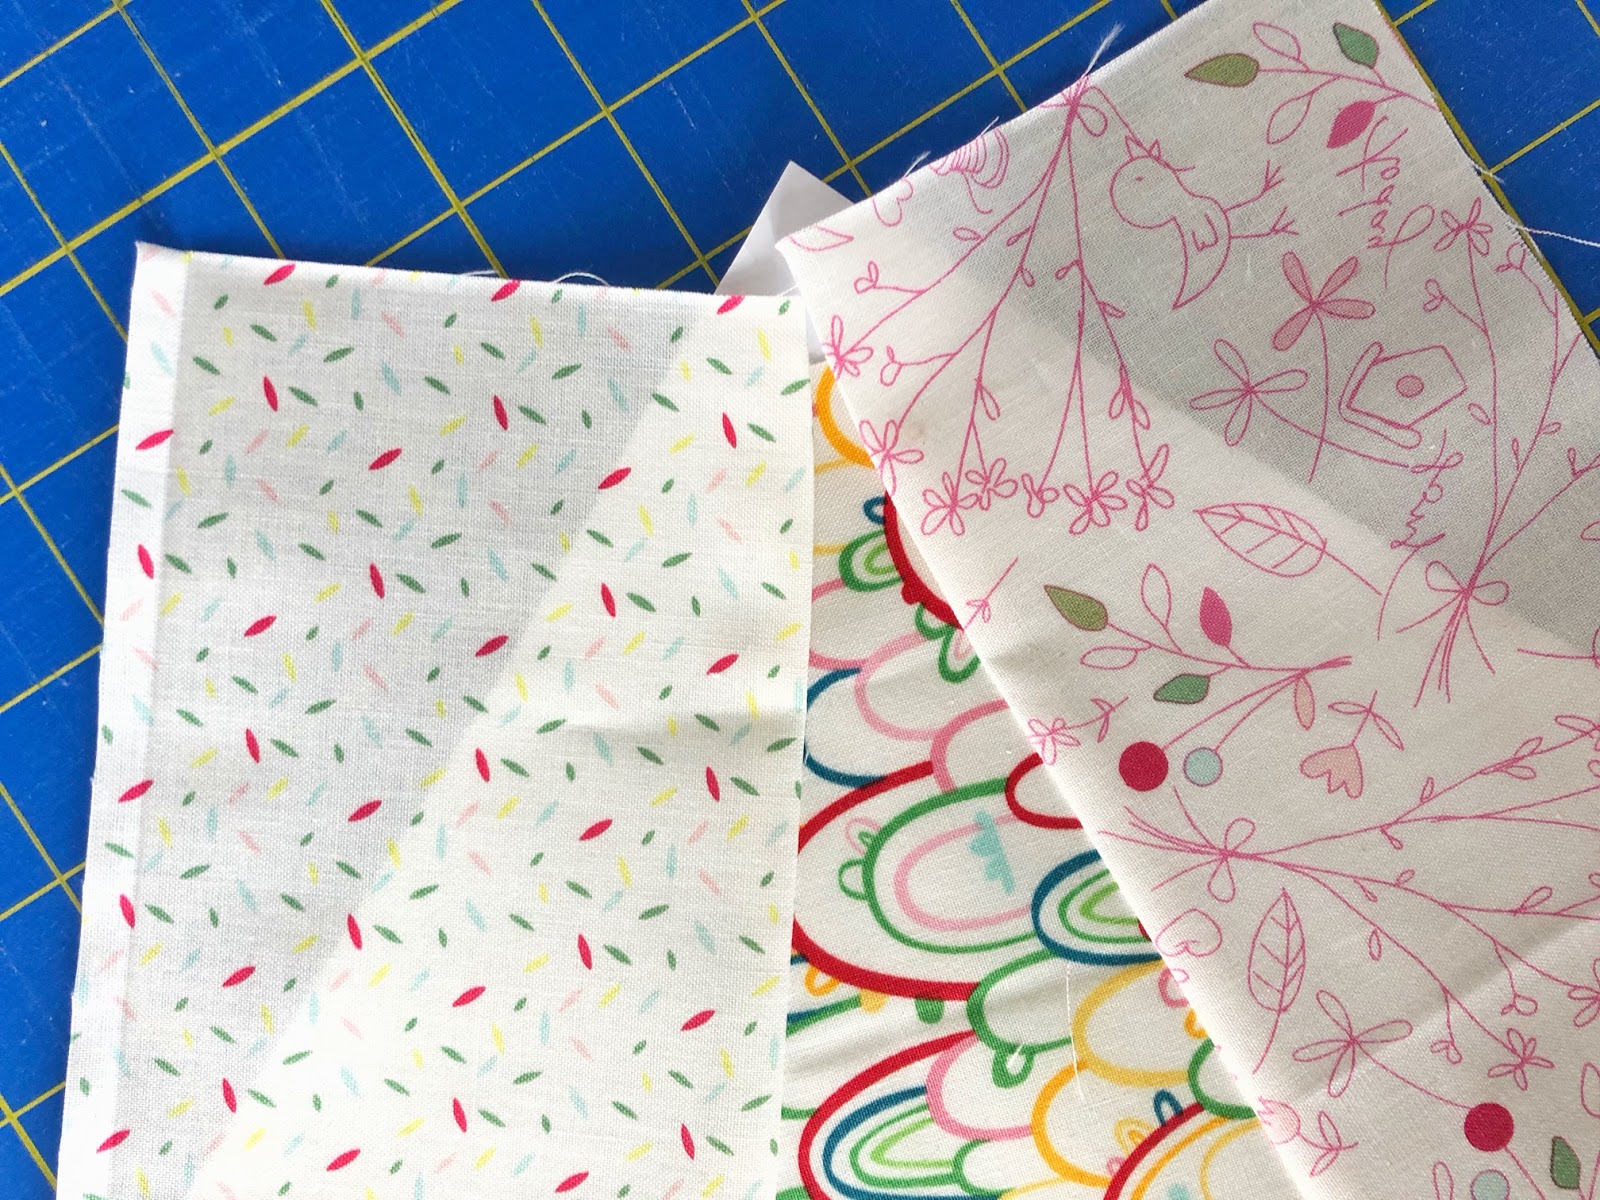
3 low volume fabrics from scraps, fat eighths, fat quarters, or 10" squares*
1 colored fabric from scraps, fat eighths, fat quarters, 10" squares, or 5" squares*
3 low volume fabrics from scraps, fat eighths, fat quarters, or 10" squares*
1 colored fabric from scraps, fat eighths, fat quarters, 10" squares, or 5" squares*
*the exact size pieces that I recommend starting with are listed below under 'Cutting' but you can use smaller, more exact pieces when you are ready. If you'd like, you can also use the FPP pattern (above) as templates. Remember to add 1/4" seam allowance to each piece in the block because the block is drawn without seam allowances.
BASIC INSTRUCTIONS
Read through the instructions before beginning
CUTTING
From 2 of the low volume fabrics,
-cut one piece roughly sized 4.5" x 7.5"
From the 3rd low volume fabric,
-cut one piece roughly sized 4.5" x 9"
From the colored fabric,
-cut one piece roughly sized 4.5" x 4.5", subcut once on the diagonal to yield 2 triangles (you'll only need one of those triangles per block
BLOCK ASSEMBLY

Gather the template and your 4 pieces of fabric. First, take the largest piece of fabric and lay it out on the wrong side of the paper with the right side of fabric facing up (that is the wrong side of the fabric is touching the wrong side of the paper). You can use a glue stick to help secure it temporarily if you'd like.

Make sure that your fabric is past the seam allowance on the outside of the block and also 1/4" past all of the the lines of A1.
Get one of the 4.5" x 7" pieces. Put this piece right side together with A1 fabric that is held in place with the glue (or with your hands) and line it up so that it is 1/4" passed the line between A1 and A2. Hold in place and flip back to make sure that the piece goes over all of the A2 lines by 1/4".

Once you have A2 in the correct place, hold everything steady, flip it over and sew on the line between A1 and A2. Backstitch at the beginning and the end of the line.

Here is what it looks like after you sewed on the line.

Fold the paper back on the line you just sewed.

Flip it over. Line the 1/4" mark on you ruler up with the stitch line you just made.

Trim away the excess fabric and paper.

Put the paper back into the normal position.

Press the seam to set it and then, flip A2 over and press.

We will now repeat this process for the A3 section of the block. Get the other 4.5" x 7" piece. Put this piece right side together with A1 fabric that is held in place with the glue (or with your hands) and line it up so that it is 1/4" passed the line between A1 and A3. Hold in place and flip back to make sure that the piece goes over all of the A3 lines by at least 1/4".

Once you have A3 in the correct place, hold everything steady, flip it over and sew on the line between A1 and A3. Backstitch at the beginning and the end of the line.

Fold the paper back on the line you just sewed.

Flip it over. Line the 1/4" mark on you ruler up with the stitch line you just made.

Trim away the excess fabric and paper.

Put the paper back into the normal position.

Press the seam to set it and then, flip A3 over and press.

Next we will piece A4. Fold back the edges of the fabric until they are flat with the line of A4. And press down a little to make a crease.

Let go and now there is a crease where the top line of A4 is.
Get the remaining triangle that will be used for A4. Line it up so that it is about 1/4" above the crease line. You can hold it up to a window or light box to make sure that it is 1/4" passed the lines of A4.

Once you have A4 in the correct place, hold everything steady, flip it over and sew on the line between A4 line. Backstitch at the beginning and the end of the line.


Flip it over.

Line the 1/4" mark on you ruler up with the stitch line you just made.

Trim away the excess fabric and paper.

Put the paper back into the normal position.

Press the seam to set it and then, flip A4 over and press.

All of the fabrics are now pieced. It is time to trim away the excess paper and fabric.
Flip the block over so you are looking at the paper side.

Line the 1/4" line of the ruler up with the dark line and that way the ruler will automatically fall on the lighter, outermost line of the block.

Trim away the excess.

Repeat for the 3 remaining sides.

You are now left with a perfect 6.5" square block. Flip it over and tah-dah!! Your block looks amazing! And if it doesn't, that's perfectly ok too!! This may take a few times to get it right! Keep trying and ask me any questions if you need help!!

The unfinished block should measure 6.5”.
You can repeat and make as many blocks as you want. After you are finished, you will need to remove the paper. I tend to not take the paper out until I am all finished working with the blocks...that is to say, I would sew as many blocks together as I want until I get the desired size and then once I am completely finished making the quilt, mini quilt, etc... then I would take out the paper.
You can watch me take out the paper in this YouTube video- here.
Below, I have made 4 blocks and rotated the triangles into the center to make this neat shape.

To sew these 4 blocks into a larger 12.5" block, take two blocks and put the right sides together. Sew along the marked 1/4" seam on the paper.

Sew the top two together and press the seams to the left. Sew the bottom tow together and press the seams to the right.

Sew the two rows together.

This block measures 12.5" unfinished.
I'm hoping to make a bunch more of these and get a nice sized quilt. But this would make the cutest baby blanket too!!
Post your progress and finished quilt on Instagram, I’d love to see! Tag me @jessicadayon and use the hashtags- #rayquiltblockpattern #jessicadayonpatterns
Once again, you can get the Ray Paper Piecing template HERE
You can watch the YouTube videos- Part 1, Part 2, and Part 3
Let me know if you have any questions! Feel free to ask them below in the comments or over on the Instagram post for this block.
Talk to you soon,
Jessica
Comments
Post a Comment