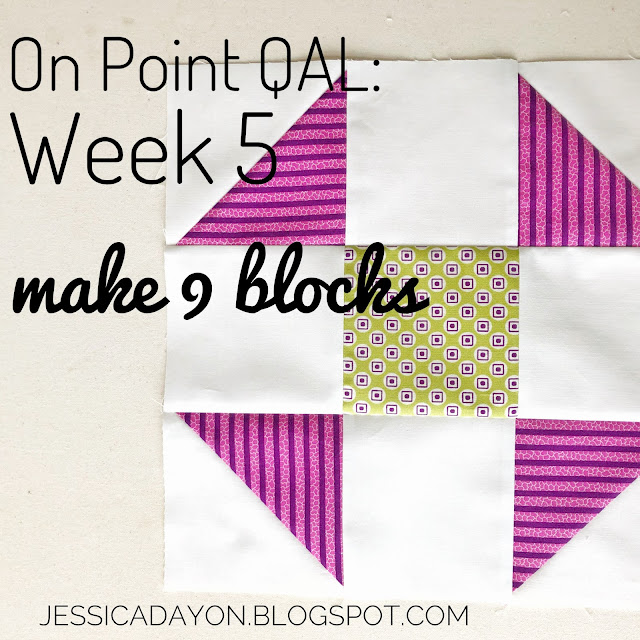
Week 5 On Point QAL: Make 9 blocks
Hi, Everyone! Welcome to the Week 5 of the On Point Quilt Along!!
Before I get started with the information today...
Here are all of the previous post links-
Week 1-Choosing Fabric- here
Week 2- Cutting the Fabric- here
Week 3- Make 8 blocks- here
Week 4- Make 8 blocks- here
You can find the 'Beginner Quilting Series' posts here (just scroll down until you see them)
You can subscribe to my blog to get notified of new posts if you'd like and you can follow me on Instagram here
You can share any posts related to this QAL by using the hashtags #onpointqal and #jessicadayonpatterns
Here is the schedule for the quilt along--
This week we are on Week 5 and we will be making all 9 of the alternate blocks in the quilt.
_____________________________________________________________________________
BASIC INSTRUCTIONS
Read through the instructions before beginning
WOF means Width of Fabric
Blocks will measure 12.5".
Blocks will measure 12.5".
_____________________________________________________________________________
IF YOU ARE MAKING A SOLIDS QUILT, you will be making 9 of these blocks.
4- 4.5" x 4.5" white pieces
1- 4.5"x 4.5" lighter colored pieces
2- 5"x 5" darker colored pieces
2- 5"x 5" white pieces

1- 4.5"x 4.5" lighter colored pieces
2- 5"x 5" darker colored pieces
2- 5"x 5" white pieces
_____________________________________________________________________________
IF YOU ARE MAKING A PRINT A QUILT, you will be making 9 of these blocks.
4- 4.5" x 4.5" white pieces
1- 4.5"x 4.5" Print 1 pieces
2- 5"x 5" Print 2 pieces
2- 5"x 5" white pieces
_____________________________________________________________________________
IF YOU ARE MAKING A PRINT B QUILT, you will be making 9 of these blocks.
4- 4.5" x 4.5" white pieces
1- 4.5"x 4.5" Print 1 pieces2- 5"x 5" Print 2 pieces
Here is the photo tutorial for this block. In the pictures, I am making a Print A quilt. But, you can use the pieces that are listed above and make your correct block while following these steps.
Here are the pieces for one block.
4- 4.5" x 4.5" white pieces
1- 4.5"x 4.5" Print 1 pieces2- 5"x 5" Print 2 pieces
First, gather the 2- 5"x 5" Print 1 pieces and the 2- 5"x 5" white pieces. We will make 2 at a time half square triangles (HST) with these. (You can find a very detailed tutorial on 2 at a time HST here if you want to reference it first.) On the Print 1 pieces draw one, diagonally across the middle from one corner to the other corner. Then, take one print 1 square and one white square. Match them right sides together.
Sew 1/4" away from the center line on one side, then the other side.
Cut apart on the center line.
Press with the seam allowances going to the darker color.
Lay your block out as shown below.
When I press these blocks, I press the top and bottom row in and the middle row out so that the rows nest nicely. IMPORTANT: Feel free to press the seams open (or in any way you'd like). When we are later assembling the quilt, the seams don't always nest and I'm ok with that. If you will not be ok with this, press the seams open.
Sew the top and middle rows together.
Sew the bottom row to the rest.
Repeat these steps 8 more times so that you have a total of 9 blocks completed for Week 5 :)
_____________________________________________________________________________
That's it for Week #5 of the QAL. Meet me back here next Friday and we will start piecing the top!
You can print a PDF of this pattern HERE
Let me know if you have any questions!
Talk to you soon,
Jessica


Comments
Post a Comment