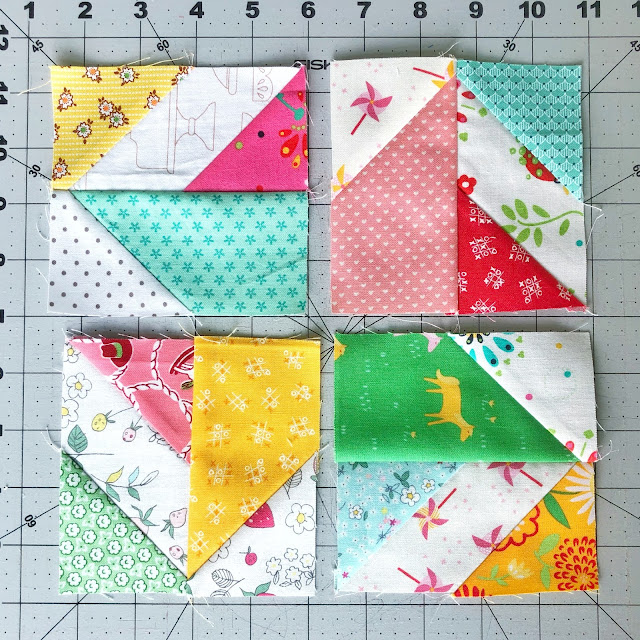
Free Quilt Block Pattern: Ada Quilt Block
I have been doing a design challenge for myself where I design one pattern a day. I'm on Day 11 at the moment and I am really enjoying pushing myself like this. Some days I have an idea that I start with and other days I have been just seeing what happens as I play around with design. Bad news is so far I have 11 new quilts I want to make (in addition to the list of patterns that I am already putting out)- lol! I just need some extra hands and extra hours to get it all made!
When I was working with one of the designs, I came up with a new block pattern that is PERFECT for scraps!! I am giving directions for it in 3 sizes- 4", 8", and 12". The 4" and 8" are both really great for small scraps. The 12" size would be great for larger scraps if you have that or from newly cut fabric (like fat eighths, fat quarters, or yardage).
ADA QUILT BLOCK
TO MAKE THE 4" BLOCK-
You'll need:
4- 1 1/2" x 2 1/2" white background pieces
4- 1 1/2" x 1 1/2" white background pieces
8- 1 1/2" x 1 1/2" squares in various color from scraps
4- 1 1/2" x 2 1/2" squares in various color from scraps
TO MAKE THE 8" BLOCK-
You'll need:
4- 2 1/2" x 4 1/2" white background pieces
4- 2 1/2" x 2 1/2" white background pieces
8- 2 1/2" x 2 1/2" squares in various color from scraps
4- 2 1/2" x 4 1/2" squares in various color from scraps
TO MAKE THE 12" BLOCK-
You'll need:
4- 3 1/2" x 6 1/2" white background pieces
4- 3 1/2" x 3 1/2" white background pieces
8- 3 1/2" x 3 1/2" squares in various color from scraps
4- 3 1/2" x 6 1/2" squares in various color from scraps
I'm showing the 8" block size but the process is the same for all of the sizes.
You'll take the 4 background rectangles and 8 print squares and make 4 rectangles with easy corner triangles. Make the sure the orientation of the easy corner triangle is as shown below otherwise the block won't line up correctly.
Draw a diagonal line on the back of all of the print squares.
Line a print square on the corner of the background rectangle. Sew along the drawn line. Cut the excess, leaving a 1/4" seam allowance.
Press.
Repeat these steps on the other side of the background rectangle.
You will be left with a piece that looks like this-
Repeat with the remaining 3 background rectangles and 6 print squares.
Next, take the 4 print rectangles and the 4 background squares and again make easy corner triangles in the correct orientation.
Draw a diagonal line on the back of all of the 2 1/2" background squares. Line a background square on the corner of the print rectangle.
Sew along the drawn line. Cut the excess, leaving a 1/4" seam allowance.
Press.
Repeat for the remaining 3 print rectangles and background squares.
Lay the block pieces out as shown-
Sew into 4 squares.
Sew the 4 squares together.
That's it! Wasn't that fun??? I have the urge to dump my scrap bins and make lots of these!! Wouldn't a quilt that uses all three block sizes be really fun to make? Yes, I think that's what I'll be doing as I go through my scraps to make these!
I hope you enjoy this tutorial and have fun making this pattern!
If you make a block, I'd love to see! Tag me on Instagram- @jessicadayon- and use the hashtags #jessicadayonpatterns and #adaquilt
Talk to you soon,
Jessica


SOOO fun! Thanks for sharing, Jessica...love your designs! Cant wait to play with my scrap bag! :D
ReplyDeleteThis pattern is so beautiful! Thank you for such detailed instructions.... so helpful to see step by step up close!
ReplyDeleteLove the Ada quilt block. Can'y wait to get stared... Thanks, Ada C
ReplyDelete