Week 2- Sweet Star Quilt Along: Make 4 Blocks

Hi, Everyone! Welcome to Week 2 of the Sweet Star Quilt Along! Last week, in Week 1, we chose fabric and cut out the whole quilt! This week we will be making 4 blocks.
Before I get started with the information today...
-you can subscribe to my blog to get notified of new posts if you'd like and you can follow me on Instagram here
-you can share any posts related to this QAL by using the hashtags #sweetstarquilt and #jessicadayonpatterns
-I also just want to note that this QAL will be different from my last one (the On Point QAL) because the Sweet Star pattern has already been released. You can download the complete PDF below. As such, the blog posts during the QAL will serve as check in's, instead of tutorials for the actual pattern. If you come across any questions or problems, just let me know in the comments or on Instagram.
-here is the schedule we will be following--
Week 1 April 26- Choosing Fabric and Cutting
Week 2 May 3- Make 4 Blocks
Week 3 May 10- Make 4 Blocks
Week 4 May 17- Make 4 Blocks
Week 5 May 24- Make 4 Blocks
Week 6 May 31- Quilt Top Assembly
Week 2 May 3- Make 4 Blocks
Week 3 May 10- Make 4 Blocks
Week 4 May 17- Make 4 Blocks
Week 5 May 24- Make 4 Blocks
Week 6 May 31- Quilt Top Assembly
This pattern is no longer free and will be available for purchase in my shop soon.
Here in Week 2, we are getting started with block making and this week we are scheduled to make 4 blocks. (If you are just getting started or want to make one of the smaller sizes but are unsure what you should be doing this week, head back to Week 1 and read that post first.)
Here are the instructions to make one block-
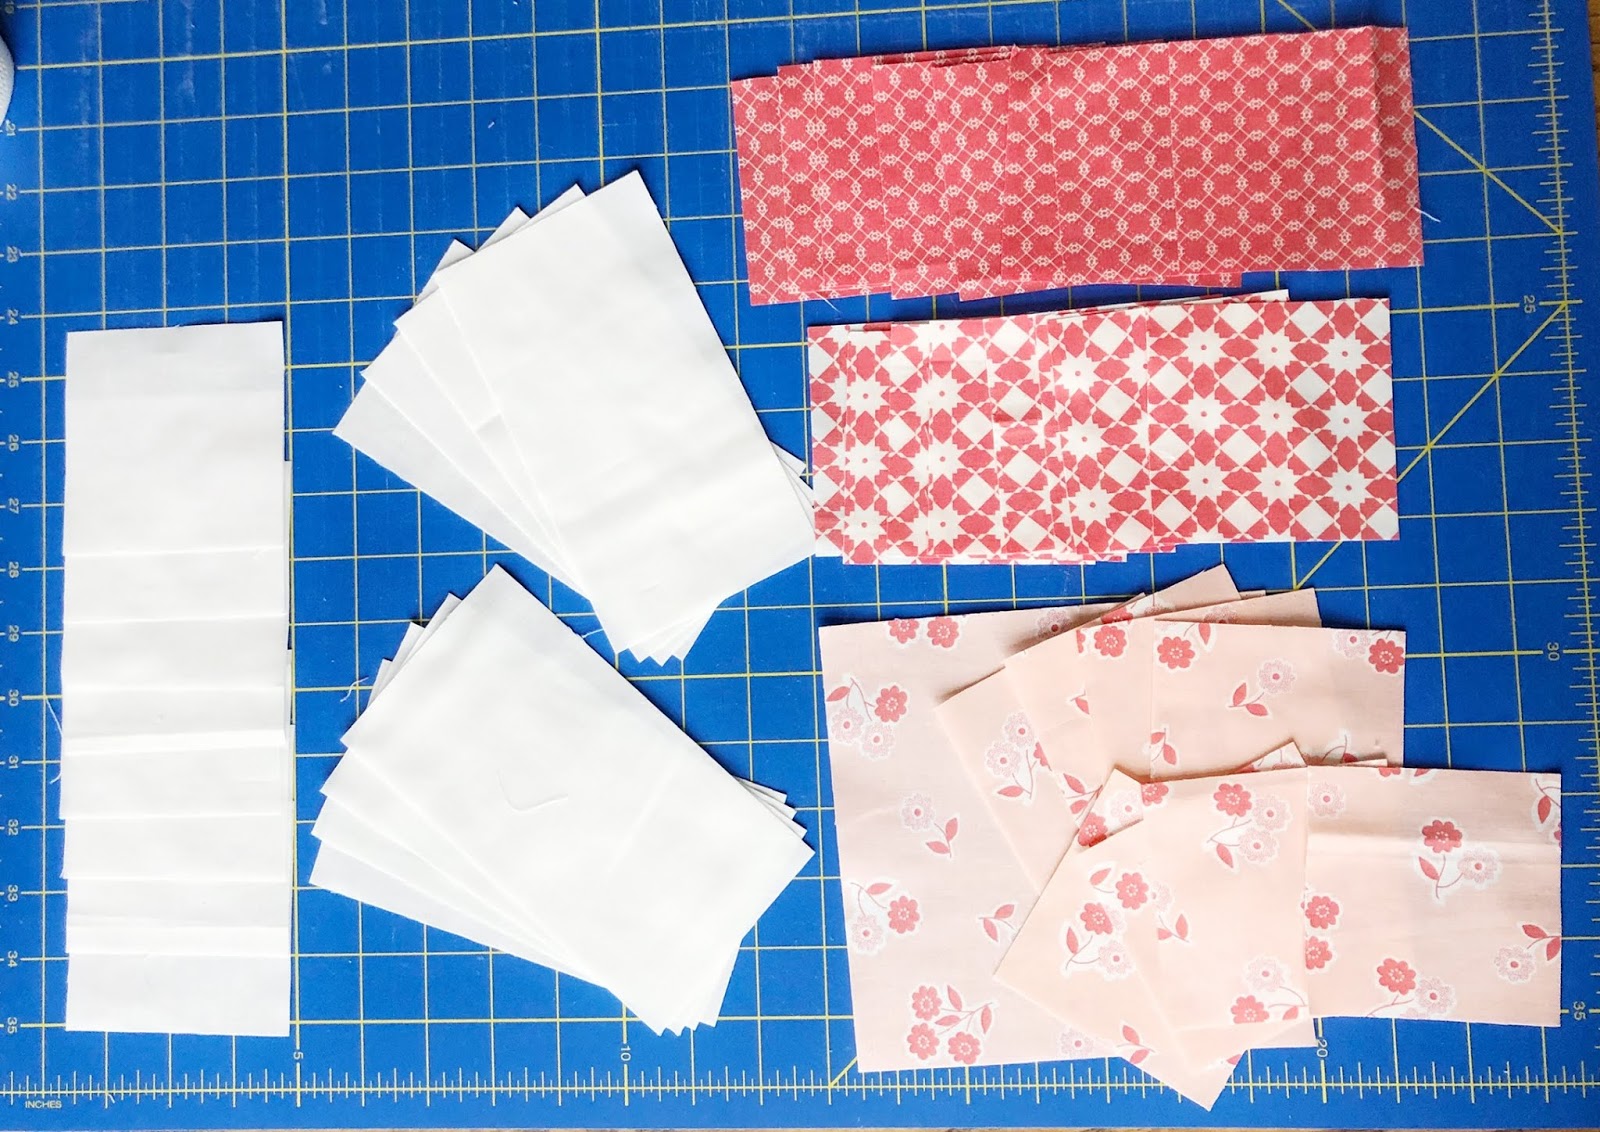
For one block, you will need the following:
-8- 3½” background squares
-8- 3½” x 6½” background rectangles
-1- 6½” Color A square (makes up the inner star)
-8- 3½” Color A squares
-8- 3½” Color B squares (makes up the outer flying geese)
-8- 3½” Color C squares (makes up the four patches)
Make 8- Stitch and Flip flying geese.
Gather the 8- 3½” x 6½” background rectangles, 8- 3½” Color A squares, and 8- 3½” Color B squares.


Repeat with the remaining background rectangles, Color A squares, and Color B squares. You will end up with 8 flying geese.

Take the flying geese units that you just made and pair a Color A unit and a Color B unit. Sew them together as shown below.


Make 4- four patches. Gather the 8- 3.5” background squares and the 8- 3.5” Color C squares.

Sew one colored piece to one background piece and press the seam allowance to the color, shown below.

Sew the two piece units together to make a 4 patch, shown below. You will end of with 4- four patches.

Lay the block out as shown below and assemble. Sew the top row together, sew the middle row together, and sew the bottom row together. Then sew the top row and bottom row to the middle row.


The unfinished block should measure 18.5”.
Repeat these steps and make 4 blocks total. Just a note, when I make these, I chain piece the geese and the 4 patches for all of the blocks (4 in this case) and then I assemble the blocks. For this week, you might feel more comfortable making one block, following my steps from beginning to end (instead of chain piecing). That's totally up to you! I always go slow on the first block of a new quilt pattern until I get the hang of it. So feel free to take this week slow!
That's it for Week 2! Let me know if you have any questions! And, I'll see you back here next Friday for Week 3 :)
Talk to you soon,
Jessica
Comments
Post a Comment