New Quilt Along!! The Scrappy Sampler Block of the Week
I've got a fantastic scrap sampler planned for us to make together! In a sense, this is a mystery quilt along because I am not showing all of the blocks that we will be making until I give the each specific block pattern. But, I am sharing the layout today and a few size options.
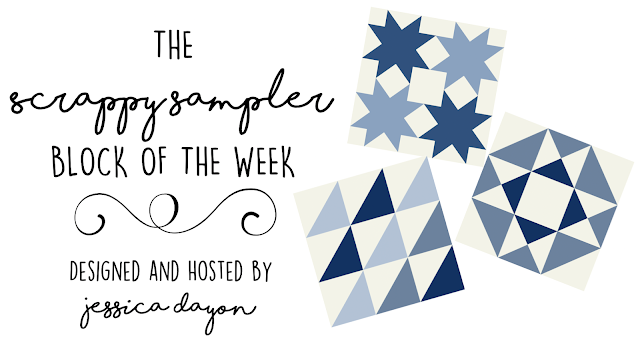
Since I'm running this as a scrap quilt, I will not be giving exact fabric requirements but I'll give you a round about amount of background fabric for each size option in case you want your background to be uniform plus border, backing, and binding requirements. As for me, anything goes here, I'm using as many scraps as I can for the colored portion and for the background. I'm currently planning on staying in one color family because I enjoy that so much. And as the blocks above in the header suggest, I'm planning to use blues. I'm planning a mix of blocks that use a few different skills- machine piecing, foundation paper piecing, english paper piecing, and appliqué. The beauty of this is that if you don't like a specific block, you can substitute another. You get to decide how many to make of each block, based on the size of quilt that you'd like to make, and if you want, you can add in other blocks from other sources to make the quilt has less repeats, be larger, or more diverse.
The layout is a simple. We will be alternating pieced blocks with solid squares. Here are the size options that I've laid out. (Of course, you could always make up your own size if desired.)
***Please keep in mind, the background fabric is an estimate. Depending on the way that the blocks are cut, you may need more or less. Make note of the fabric you are using (if you are not using scraps) so that you can purchase more if needed.
The lap size measures 52 1/2" x 64 1/2". You'll need 32 pieced blocks for the lap size. For the lap size, I estimate you'll need:
A variety of scraps for the colored portions of the pieced blocks
3 3/4 yards of background fabric
3/8 yard fabric for the skinny blue border
1/2 yard binding fabric
4 yards backing fabric

The throw size measures 64 1/2" x 76 1/2". You'll need 50 pieced blocks for the throw size. For the throw size, I estimate you'll need:
A variety of scraps for the colored portions of the pieced blocks
4 3/4 yards of background fabric
1/2 yard fabric for the skinny blue border
2/3 yard binding fabric
4 5/8 yards backing fabric

The full size measures 76 1/2" x 88 1/2". You'll need 72 pieced blocks for the full size. For the full size, I estimate you'll need:
A variety of scraps for the colored portions of the pieced blocks
6 yards of background fabric
1/2 yard fabric for the skinny blue border
3/4 yard binding fabric
5 1/3 yards backing fabric

The queen size measures 88 1/2" x 100 1/2". You'll need 98 pieced blocks for the queen size. For the queen size, I estimate you'll need:
A variety of scraps for the colored portions of the pieced blocks
7 1/2 yards of background fabric
1/2 yard fabric for the skinny blue border
7/8 yard binding fabric
9 yards backing fabric

I've had questions about the difficulty level of this quilt. I think an intermediate level quilter could tackle it. I'm definitely assuming you know how to cut and piece with a 1/4 seam allowance. The pieced blocks will measure 6" finished so there will be some tiny pieces involved. Tiny piecing is sometimes difficult for beginners which is why I'm saying intermediate level. We will also be using multiple techniques here- traditional machine piecing, foundation paper piecing, appliqué, and english paper piecing. I'll show how to make most blocks but it won't be a tutorial on the technique. You can definitely find tutorials on Your Tube or elsewhere online for all of the techniques. All of this said, you can always substitute any blocks that you don't want to make with any other 6" finished block.
Let's talk schedule! Since I'm looking forward to some really great sewing during the week after Christmas, we are going to have a block pattern a day for that week! But then after January 1st, we will slow the speed down a little and do three block patterns per week.
When it comes to quilts, I typically go big so I'm planning on making the queen. Since the queen uses 98 pieced blocks, I'm planning on making two of each of the 49 block patterns. You can make yours anyway that you'd like.
I think that covers it! Let me know if you have any questions. If you'd like to share your work on Instagram, we will be using the hashtags- #scrappysamplerbotw and #jessicadayonpatterns
I'm really looking forward to this and I hope you are too!
Thanks for sewing with me!
Jessica
This is another great QAL project, Jessica. Thanks!
ReplyDeleteThank you f or offering this!
ReplyDeleteThank you Jessica for a great QAL! I've been finishing other projects, so I spent the past months collecting the patterns. This past week I was able to dive into it and I'm having a blast!❤. I've already been challenged with the curved piecing, but it came out pretty good!👏. I had never done curved piecing before so it was great to stretch myself.
ReplyDeleteThanks again for your time and knowledge to offer the quilting experiences that you do!
Keep sewing everyone!