Independence Quilt Along- Week 2: Cutting

Hi, Quilty Friends! Welcome to Week 2 of the Independence QAL! How did your fabric selection go?
Before we get started today, here are some basics,
-You can subscribe to my blog to get notified of new posts if you'd like
-You can follow me on Instagram here
-You can follow me on Instagram here
-You can share any posts related to this QAL by using the hashtags #independencequilt and #jessicadayonpatterns
Here is the General Schedule we will be following--
Introduction Post
Week 1 July 5- Choose Fabric
Week 2 July 12- Cut Fabric
Week 3 July 19- Make Blocks
Week 4 July 26- Make Blocks
Week 5 August 2- Make Blocks
Week 6 August 9- Make Blocks
Week 7 August 16- Make Blocks
Week 8 August 23- Assemble the blocks
Week 9 August 30- Add Borders
Here is the DETAILED SCHEDULE based on the specific size quilts that we will be following for the Independence Quilt Along:

Throw Size 64" x 64"

From the of the 13 jelly roll strips,
☐ cut 5- 2 1/2” and 5- 2 1/2” x 4 1/2” pieces
From the Background,
☐ cut 13- 2 1/2” x WOF strips; subcut each strip into 5- 2 1/2” squares and 5- 2 1/2” x 4 1/2” pieces
☐ cut 3- 8 1/2” x WOF strips; subcut into 9- 8 1/2” squares
☐ cut 1- 12 1/2” x WOF strips; subcut into 3- 12 1/2” squares then cut each square on both diagonals to yield 4 triangles per squares (12 total triangles)
☐ cut 1- 6 1/2” x WOF strips; subcut into 2- 6 1/2” squares, each square cut on one diagonal to yield 2 triangles per square (4 total triangles)
☐ cut 6- 3 1/2” x WOF strips (For Border 3)
From Border 1,
☐ cut 6- 3 1/2” x WOF strips
From Border 2,
☐ cut 6- 3 1/2” x WOF strips
From the Binding,
☐ cut 7- 2 1/2” x WOF strips
Large Throw/Twin Size- 76" x 76"

From each of the 20 jelly roll strips,
☐ cut 5- 2 1/2” and 5- 2 1/2” x 4 1/2” pieces
From the Background,
☐ cut 20- 2 1/2” x WOF strips; subcut each strip into 5- 2 1/2” squares and 5- 2 1/2” x 4 1/2” pieces
☐ cut 4- 8 1/2” x WOF strips; subcut into 16- 8 1/2” squares
☐ cut 2- 12 1/2” x WOF strips; subcut into 4- 12 1/2” squares then cut each square on both diagonals to yield 4 triangles per squares (16 total triangles)
☐ cut 1- 6 1/2” x WOF strips; subcut into 2- 6 1/2” squares, each square cut on one diagonal to yield 2 triangles per square (4 total triangles)
☐ cut 8- 3 1/2” x WOF strips (For Border 3)
From Border 1,
☐ cut 6- 3 1/2” x WOF strips
From Border 2,
☐ cut 6- 3 1/2” x WOF strips
From the Binding,
☐ cut 8- 2 1/2” x WOF strips
Full Size- 87" x 87"

From each of the 29 jelly roll strips,
☐ cut 5- 2 1/2” and 5- 2 1/2” x 4 1/2” pieces
From the Background,
☐ cut 29- 2 1/2” x WOF strips; subcut each strip into 5- 2 1/2” squares and 5- 2 1/2” x 4 1/2” pieces
☐ cut 7- 8 1/2” x WOF strips; subcut into 25- 8 1/2” squares
☐ cut 2- 12 1/2” x WOF strips; subcut into 5- 12 1/2” squares then cut each square on both diagonals to yield 4 triangles per squares (20 total triangles)
☐ cut 1- 6 1/2” x WOF strips; subcut into 2- 6 1/2” squares, each square cut on one diagonal to yield 2 triangles per square (4 total triangles)
☐ cut 9- 3 1/2” x WOF strips (For Border 3)
From Border 1,
☐ cut 8- 3 1/2” x WOF strips
From Border 2,
☐ cut 8- 3 1/2” x WOF strips
From the Binding,
☐ cut 9- 2 1/2” x WOF strips
Queen Size- 98" x 98"

From each of the 40 jelly roll strips,
☐ cut 5- 2 1/2” and 5- 2 1/2” x 4 1/2” pieces
From the Background,
☐ cut 40- 2 1/2” x WOF strips; subcut each strip into 5- 2 1/2” squares and 5- 2 1/2” x 4 1/2” pieces
☐ cut 9- 8 1/2” x WOF strips; subcut into 36- 8 1/2” squares
☐ cut 2- 12 1/2” x WOF strips; subcut into 6- 12 1/2” squares then cut each square on both diagonals to yield 4 triangles per squares (20 total triangles)
☐ cut 1- 6 1/2” x WOF strips; subcut into 2- 6 1/2” squares, each square cut on one diagonal to yield 2 triangles per square (4 total triangles)
☐ cut 10- 3 1/2” x WOF strips (For Border 3)
From Border 1,
☐ cut 9- 3 1/2” x WOF strips
From Border 2,
☐ cut 10- 3 1/2” x WOF strips
From the Binding,
☐ cut 10- 2 1/2” x WOF strips
THE WAY I CUT FABRIC FOR A QAL-
When I'm cutting out a quilt for a QAL that breaks down the block making over a period of time, I really like to separate my fabric into what I need for each week. When I do this, I am able to just grab one pile for the week and work on it as I can (whether that may be in one sitting or many). It makes it easier for me because each week I can just start sewing, since all of the sorting has already been done up front.
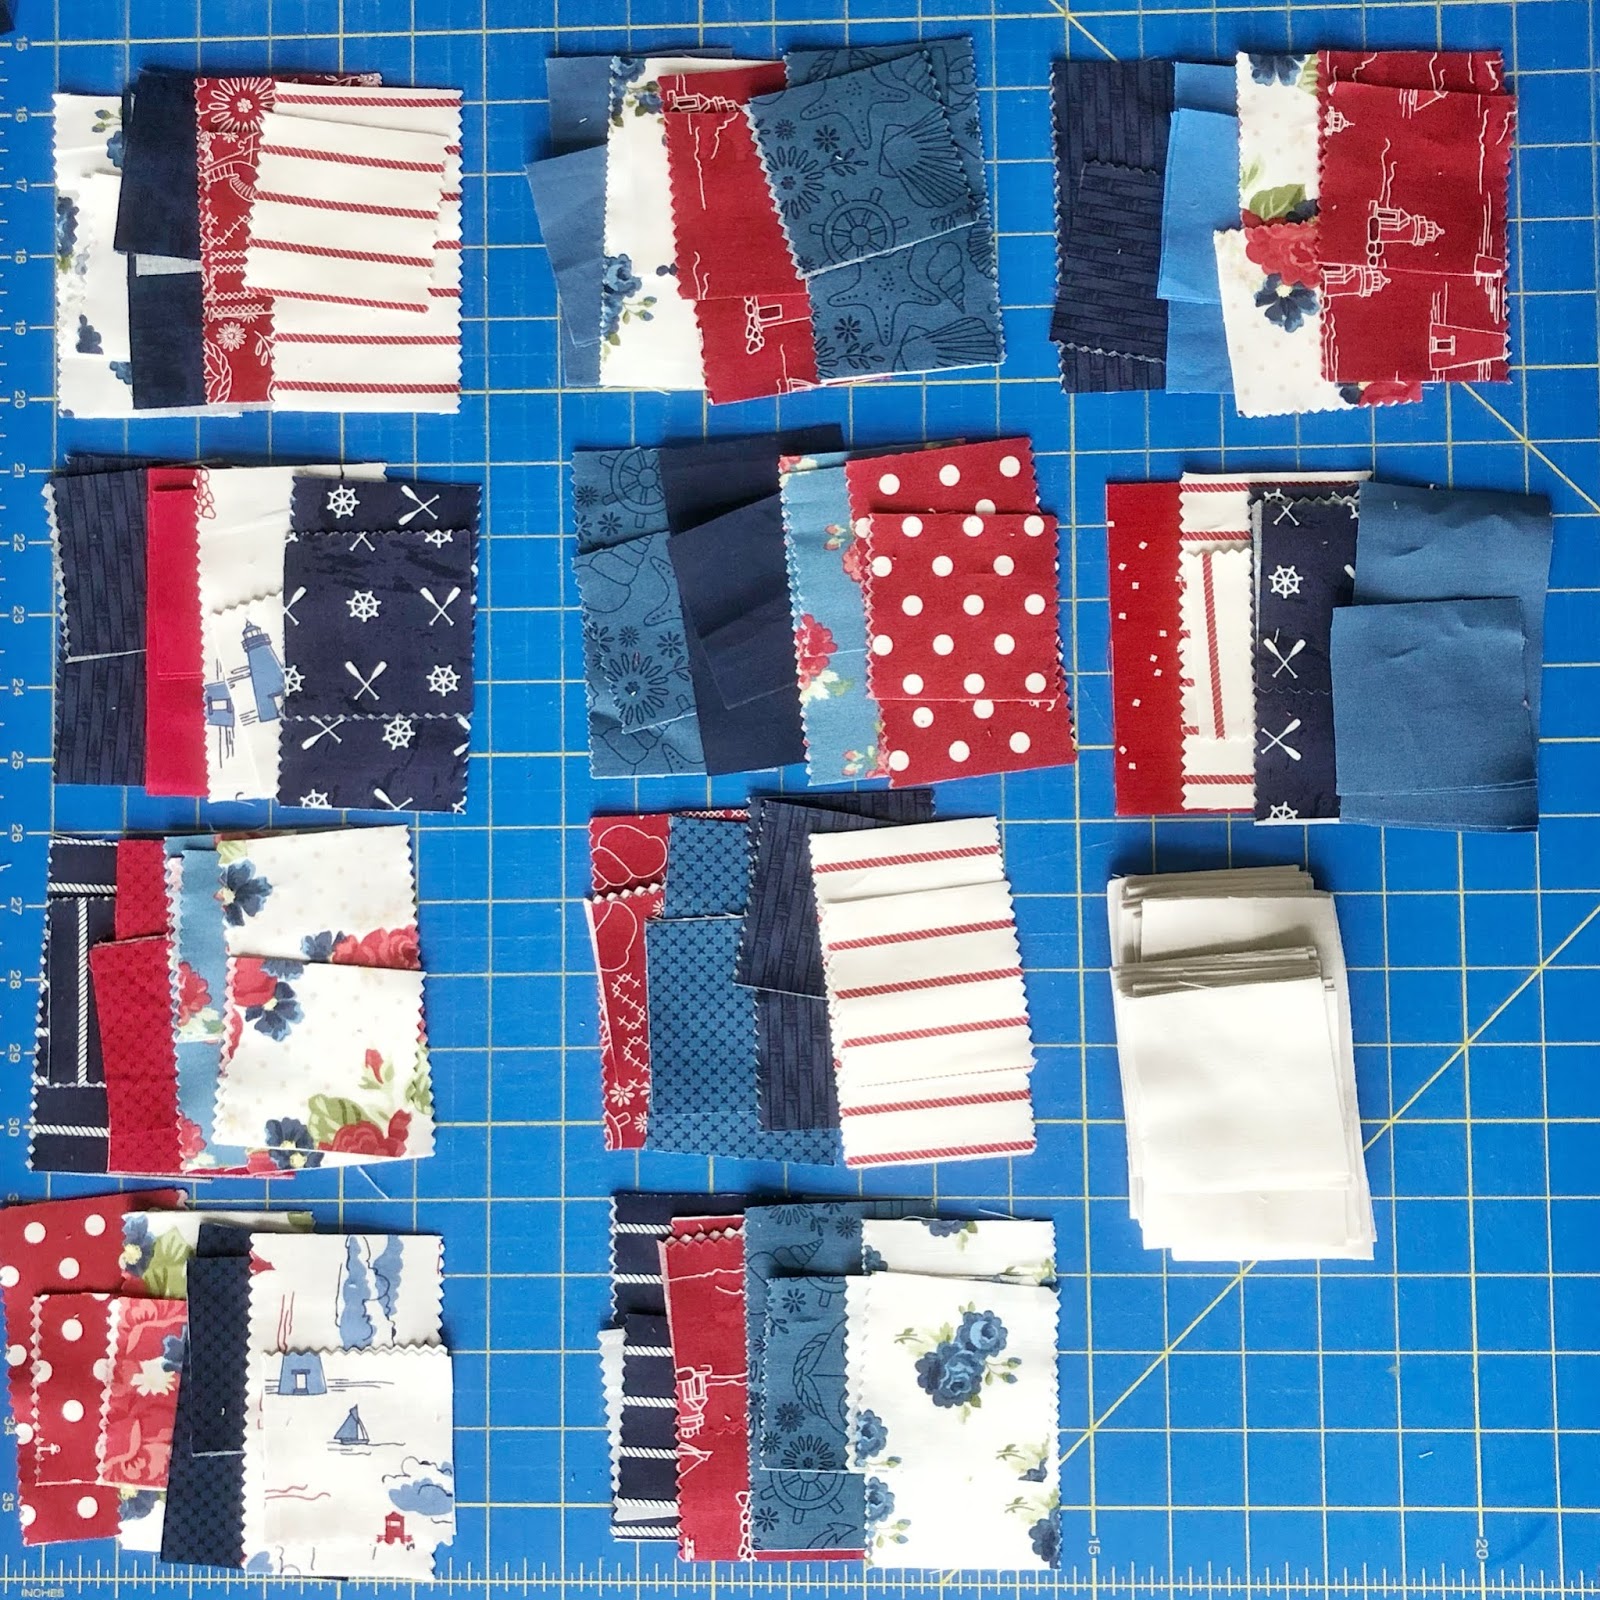
So, I sort out the jelly roll strips by week-

The stack it all into one pile and repeat for the remaining weeks.

So, for this QAL, I have made 5 piles (1 for each of the block making weeks) and each pile contains exactly what I need to make the blocks for that week.

When I have lots of projects going on (which is all the time :) ) I separate my projects in plastic bins. I put all the supplies I need for that project in the bin and I can keep track of it very nicely. For this QAL my project bin contains all the fabric I need for making my blocks (separated into piles), the other pieces I cut that aren't for the pieced blocks (like borders, setting triangles, etc...), and anything else I have set aside for this project. I usually keep all of the extra pieces of fabric in the bin too. That way, if I make a mistake and I need to go back to the fabric and cut new pieces, I don't have to search for it in my stash (or all around my house!) since it is right in my project bin.

Once I am finished with the project and the quilt is completed, I take all of the leftover fabric and organize it into my stash.
So, I sort out the jelly roll strips by week-
The stack it all into one pile and repeat for the remaining weeks.

So, for this QAL, I have made 5 piles (1 for each of the block making weeks) and each pile contains exactly what I need to make the blocks for that week.

When I have lots of projects going on (which is all the time :) ) I separate my projects in plastic bins. I put all the supplies I need for that project in the bin and I can keep track of it very nicely. For this QAL my project bin contains all the fabric I need for making my blocks (separated into piles), the other pieces I cut that aren't for the pieced blocks (like borders, setting triangles, etc...), and anything else I have set aside for this project. I usually keep all of the extra pieces of fabric in the bin too. That way, if I make a mistake and I need to go back to the fabric and cut new pieces, I don't have to search for it in my stash (or all around my house!) since it is right in my project bin.

Once I am finished with the project and the quilt is completed, I take all of the leftover fabric and organize it into my stash.
If you have any questions, leave them here or on Instagram. Have fun cutting!
Talk to you soon,
Jessica
Comments
Post a Comment