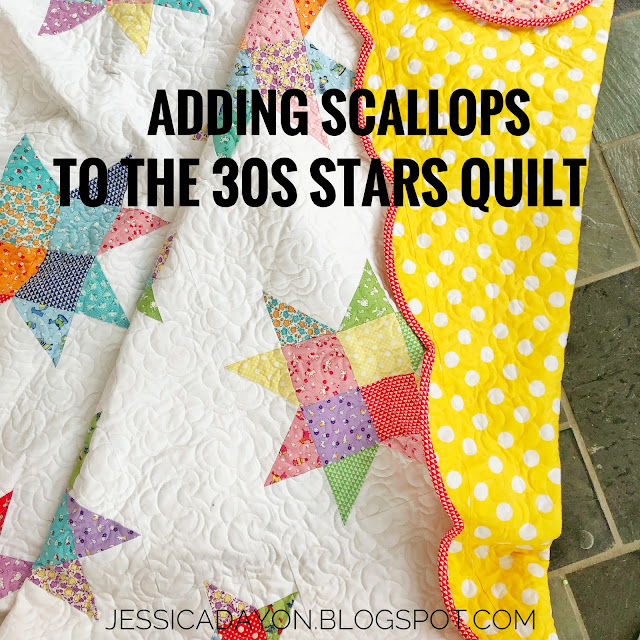
Free Tutorial: How to Scallop the Edges of the 30s Stars quilt
I love quilts with scalloped edges. There is something so absolutely beautiful about it to me. However, for some reason, I have only do it to a few quilts that I've made. I am going to change that! I have a few designs planned for 2020 with scalloped edges! But let's start with the 30s Stars quilt!
I have received lots of messages on Instagram about how to scallop edges. There seemed to be lots of people wanting to use this technique but they didn't know how and most of all they didn't want to ruin their quilt trying to do it.
I totally understand. I remember the first time I tried it, I nearly cried LOL! It turned out exactly as it was meant to but I was so nervous doing it and worried I was going to ruin my quilt. Now that I've done it more, I'm comfortable with the process and not worried when I do it.
So, let's walk through it and I'll show you that it's not as difficult as it seems.
IMPORTANT!! This tutorial and then template provide is specifically for my 30s Stars quilt. Only use it for the 30s Stars quilt pattern that is made exactly as my pattern specifies.
When scalloping the edges of a quilt, the number of scallops and the size of the scallops are determined based on the length of the quilt sides. Scallops are not one size fits all quilts and your scallops most definitely will not turn out unless they are calculated specifically for the quilt you are making. So, once again, this tutorial and my scallop template are specifically made to be used with my 30s Stars quilt pattern.
To start out, you need to have your quilted quilt. So, you make the quilt according to my pattern, quilt it as desired.
You can find my 30s Stars Quilt pattern here.
Then, come back to this tutorial and continue on...
Trim away the excess batting/backing so that the quilt top is flush with the backing and batting.
Print out my scallop template- HERE.
IMPORTANT- Make sure there is NO SCALING and that you are printing at 100%. Cut on the inside of the dark line. The long, flat edge of the template (which is opposite the scallop) should measure 8".
I decided to trace mine on cardboard so it was really sturdy. You can carefully use the paper template, trace to cardboard, card stock, or quilters template.
You'll also need a ruler and a quilt marking tool.
Start at one corner. Mark a diagonal line from the inside corner of the outer border to the outside corner of the outer border. Do this on all four corners.
Next take your template, line the long, flat edge up with the outside edge of the quilt and make sure the point is directly lined up on the diagonal line you just drew. Trace the inner curve onto your quilt using your marking tool.
Lift up your template. To make the next scallop, move it down so that the point now matches up with the point of the last scallop that you drew and the long, flat edge is lined up with the quilt top. Trace the inner arc again.
Repeat this process along each side of the quilt. You will have 10 scallops on each side of the quilt.
Once you have all of the scallops traced, start cutting! Use sharp scissors and cut directly on the scalloped marking lines you just made.
After you cut away all the excess, you did it! The scallops are made and now it's time for binding!
To bind scallops, you'll need to use bias binding so that you can get around all the curving edges.
Let me know if you have any questions!
Talk to you soon,
Jessica


Comments
Post a Comment